21 Craft Closet Organization Hacks You’ll Love
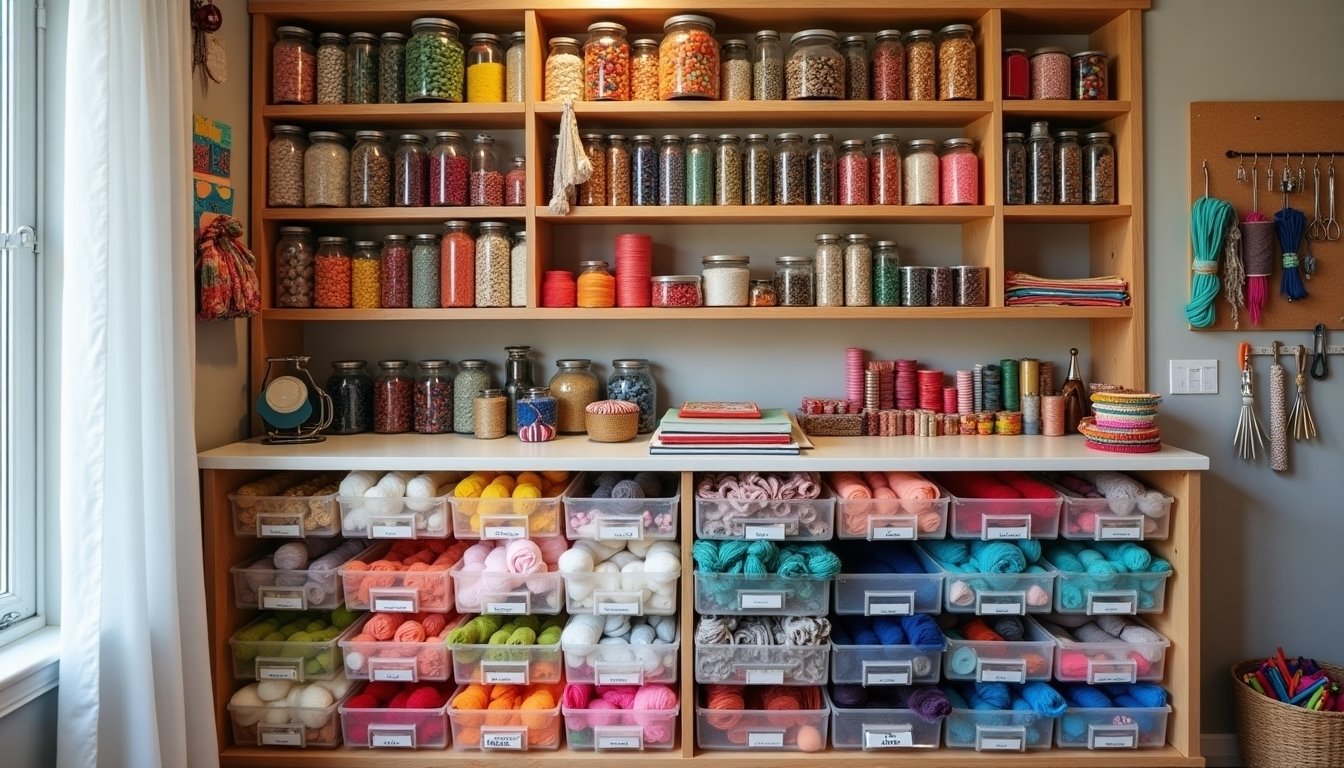
You probably know how quickly a craft closet can turn into a jumbled mess, making it hard to find what you need. By using simple tricks like clear bins, pegboards, and labeled storage, you can keep everything in its place and save time. These ideas don’t require a big budget or major renovations but can make a noticeable difference in your space. Let’s explore how a few smart changes can simplify your crafting routine.
Utilize Clear Storage Bins for Visibility
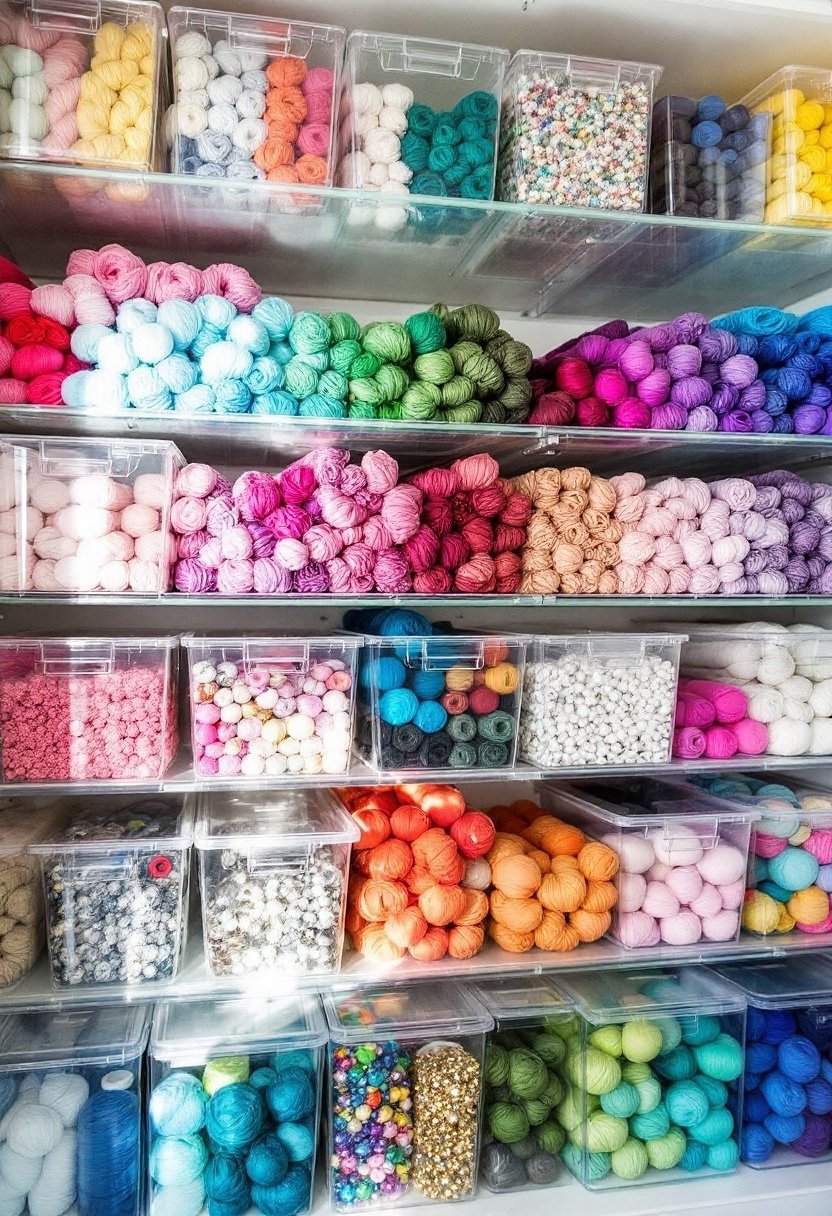
Although organizing your craft supplies can feel overwhelming, using clear storage bins makes it much easier to keep track of everything.
You’ll appreciate clear bin benefits like quick visibility and easy access.
With storage bin varieties such as stackable trays or lidded containers, you can customize your space to fit different items, making your craft closet neat and efficient without extra hassle.
Label Everything for Easy Identification

Labels are your best friend when it comes to keeping your craft closet organized. Use simple labeling techniques like clear fonts or handwritten tags to quickly spot supplies.
Try color coding to group similar items, making it easier to find what you need at a glance. This way, everything stays tidy and accessible, saving you time and frustration during your projects.
Install Pegboards to Hang Tools
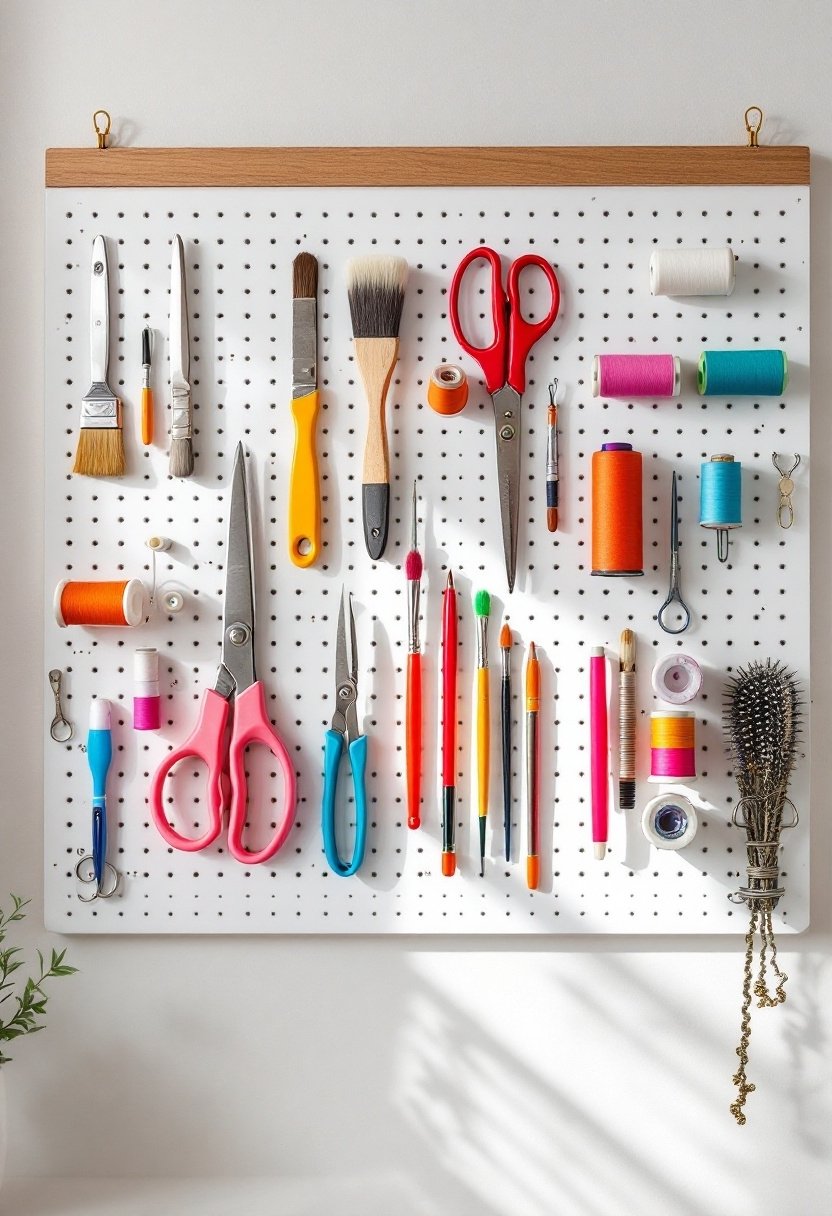
One of the easiest ways to keep your craft tools organized and within reach is to install a pegboard on your closet wall.
Pegboard customization lets you arrange hooks and holders exactly where you need them, making tool organization simple and efficient.
This setup not only saves space but also helps you find what you need quickly, keeping your craft closet tidy and functional.
Use Magnetic Strips for Small Metal Items
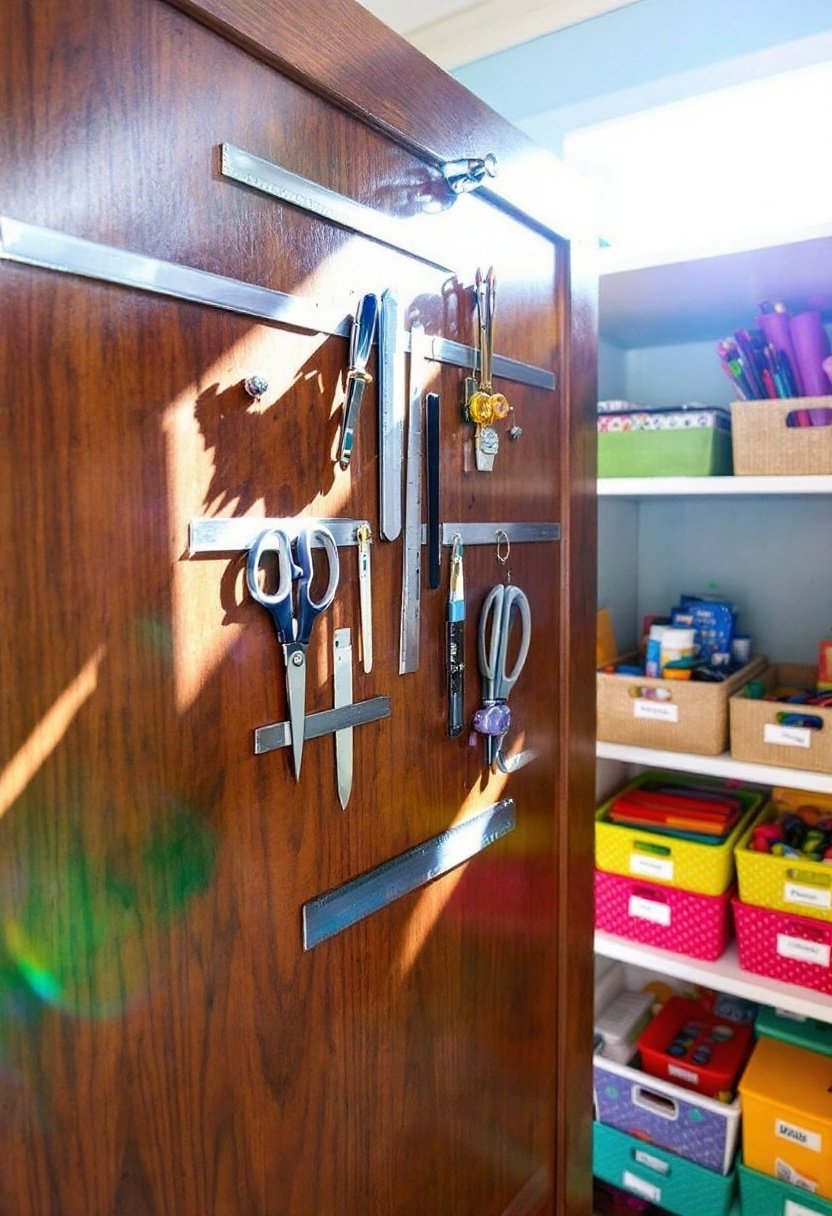
When you use magnetic strips, you can keep small metal items like scissors, pins, and needles neatly organized and easy to find.
Magnetic organization saves space and prevents clutter. Simply mount strips on your craft closet wall for quick access.
This metal tool storage method keeps everything visible and within reach, making your crafting process smoother and more enjoyable every time.
Repurpose Shoe Organizers for Supplies
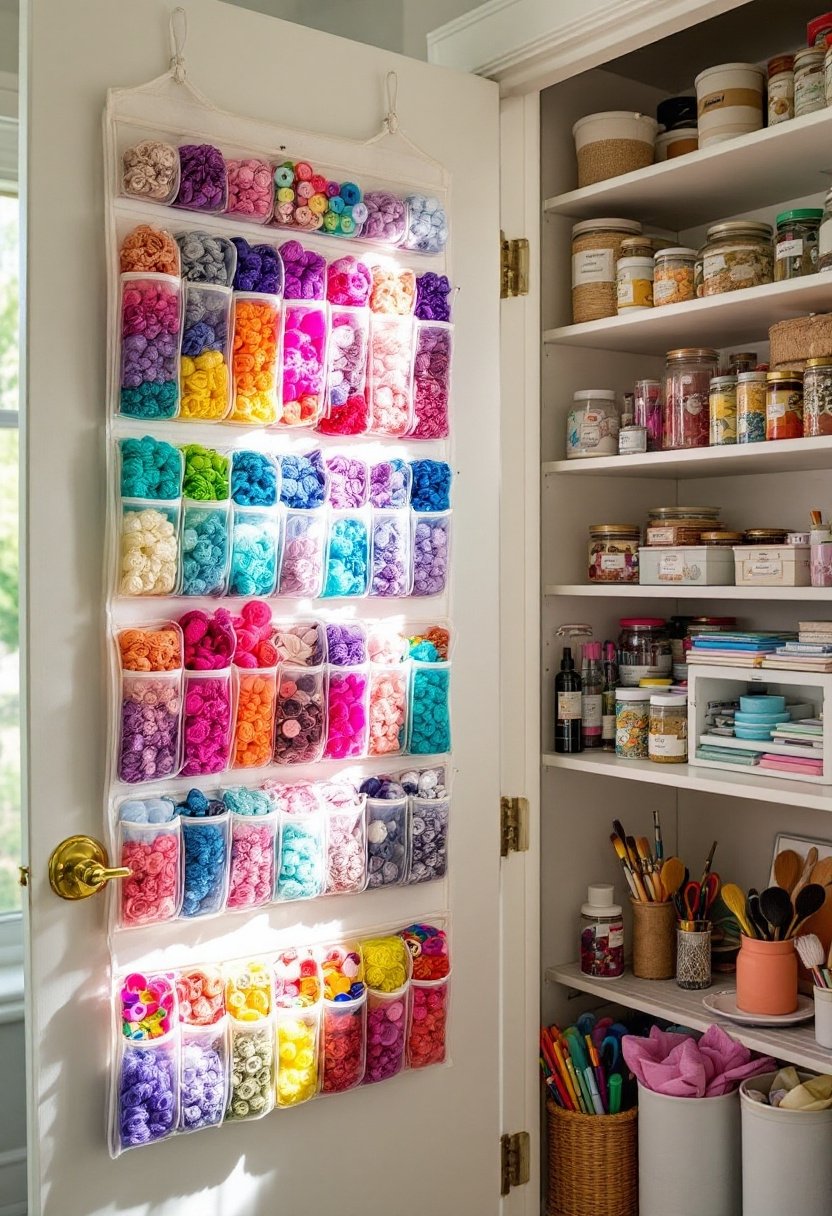
Magnetic strips work great for small metal tools, but larger or non-metal supplies need a different solution.
That’s where shoe organizer uses shine. Hang a clear shoe organizer on your craft closet door to store glue sticks, scissors, and markers.
This clever craft supply storage keeps everything visible and easy to grab, saving space and boosting your crafting efficiency.
Store Ribbon Spools on a Tension Rod

A tension rod can transform your ribbon storage by keeping spools neat and easy to reach.
Just install a tension rod inside a cabinet or between shelves, then slide your ribbon spools onto it. This simple setup prevents tangling and saves space, making it quick for you to find and grab the perfect ribbon whenever you craft.
Use Drawer Dividers to Separate Materials
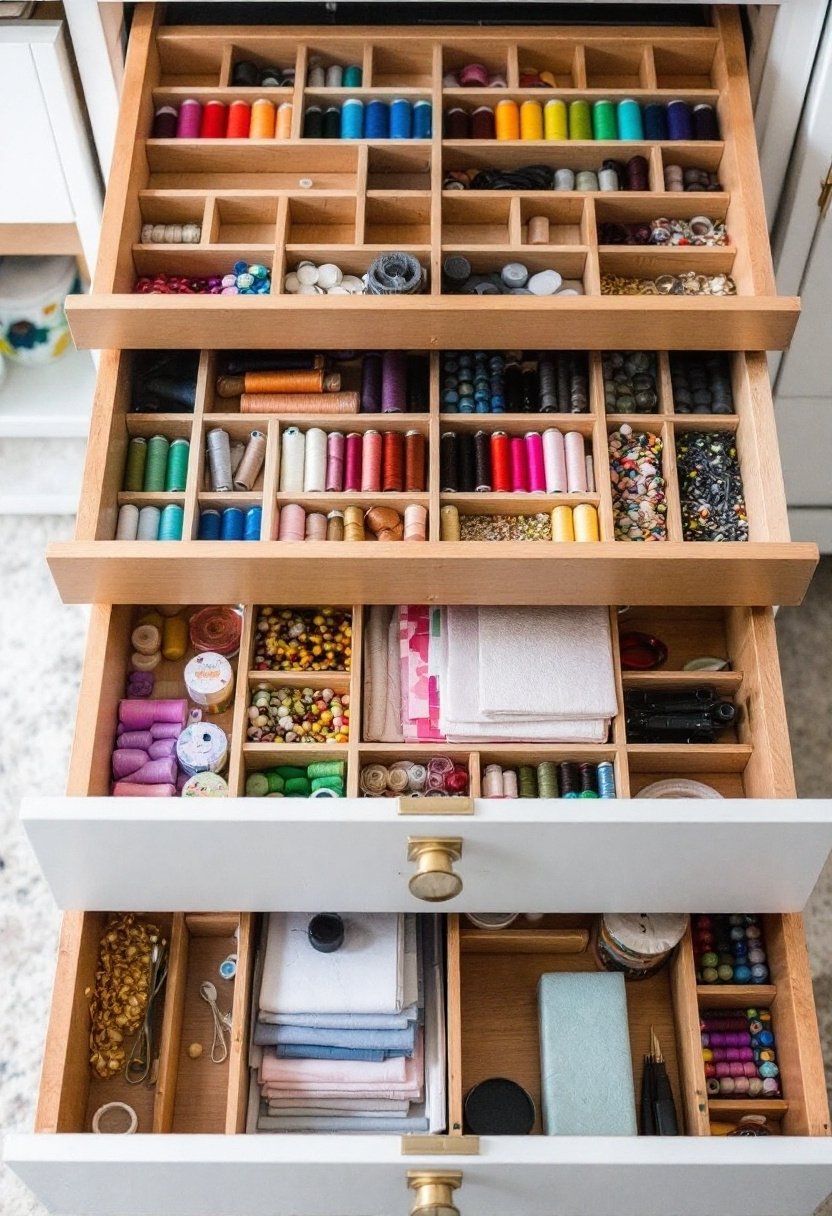
Even if your drawers are already full, using dividers can help you keep your craft supplies separated and easy to find.
Drawer organization improves instantly when you add dividers for material separation. You can sort beads, buttons, or fabric scraps into neat sections, so nothing gets lost or tangled.
This simple hack saves time and keeps your craft closet tidy every day.
Hang Baskets on the Closet Door
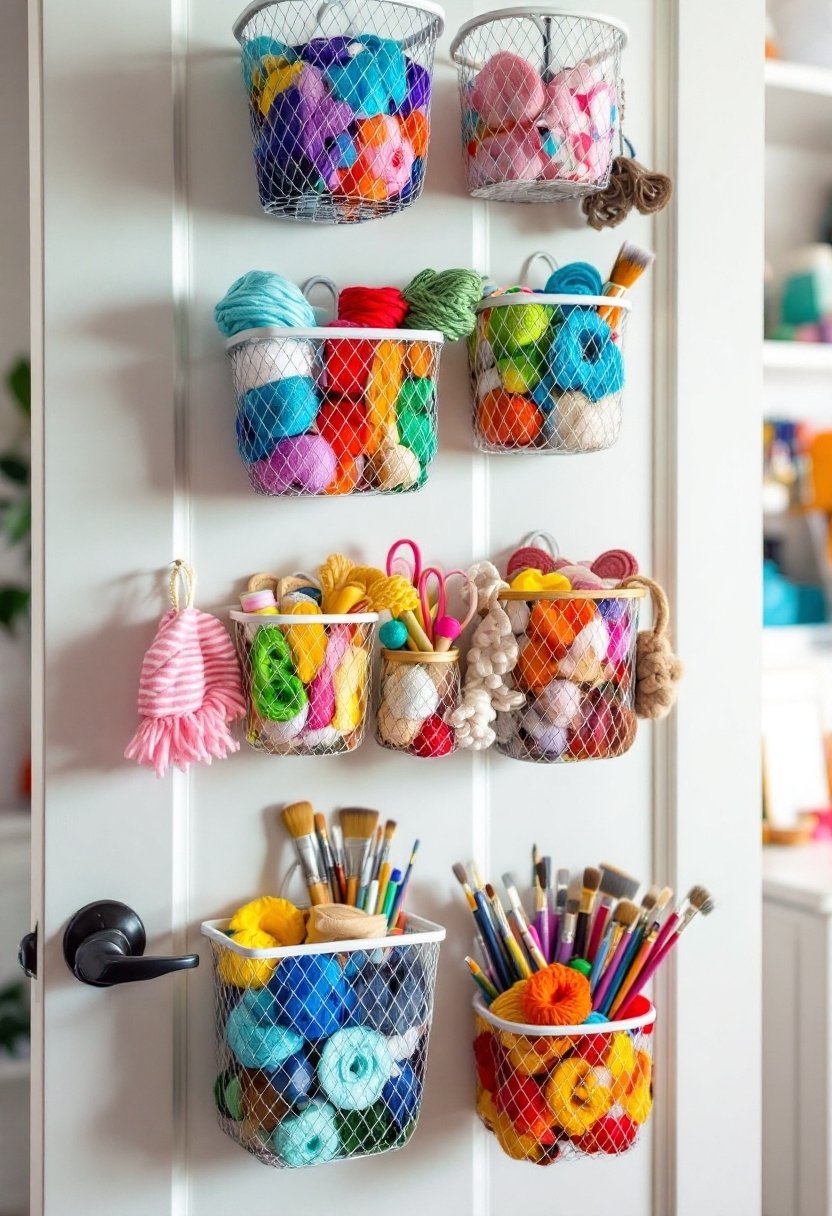
Three or four baskets hung on the closet door can instantly boost your storage space without taking up any floor area.
Use door storage by choosing baskets that fit well and arranging them vertically for easy access.
This basket arrangement keeps supplies visible and organized, so you can grab what you need quickly without digging through clutter inside your craft closet.
Incorporate Stackable Drawer Units
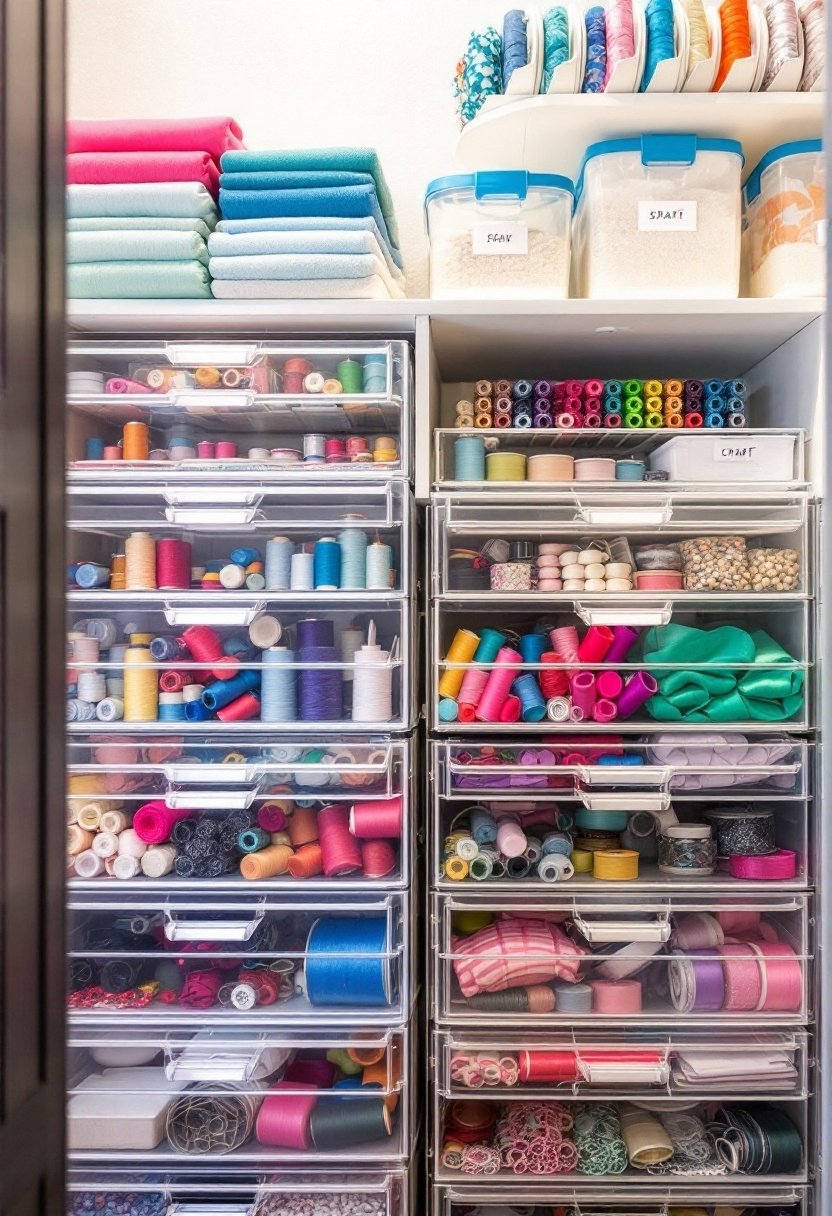
If you want to add even more storage without taking up extra room, stackable drawer units are a smart choice.
These stackable units help maximize vertical space while keeping your craft supplies neat. You can easily separate items by category, improving drawer organization and making everything simple to find.
Plus, they’re flexible—move or add units as your needs change.
Use Mason Jars for Small Items
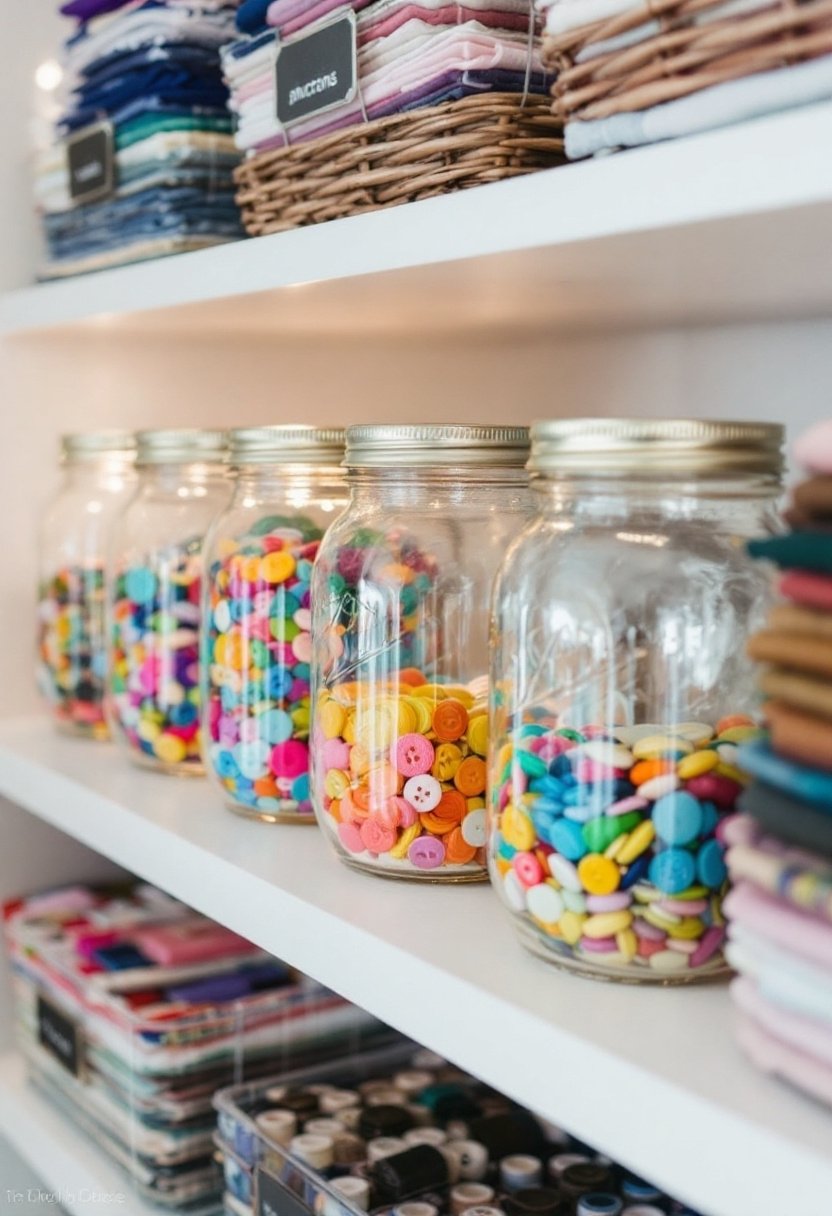
Mason jars offer a simple and affordable way to keep small craft items organized and visible.
Use mason jar crafts to store beads, buttons, or glitter, turning them into decorative storage that brightens your craft closet. You can label each jar for easy access, making your workspace tidy and inspiring without spending much or sacrificing style.
Create a Rolling Cart for Mobility
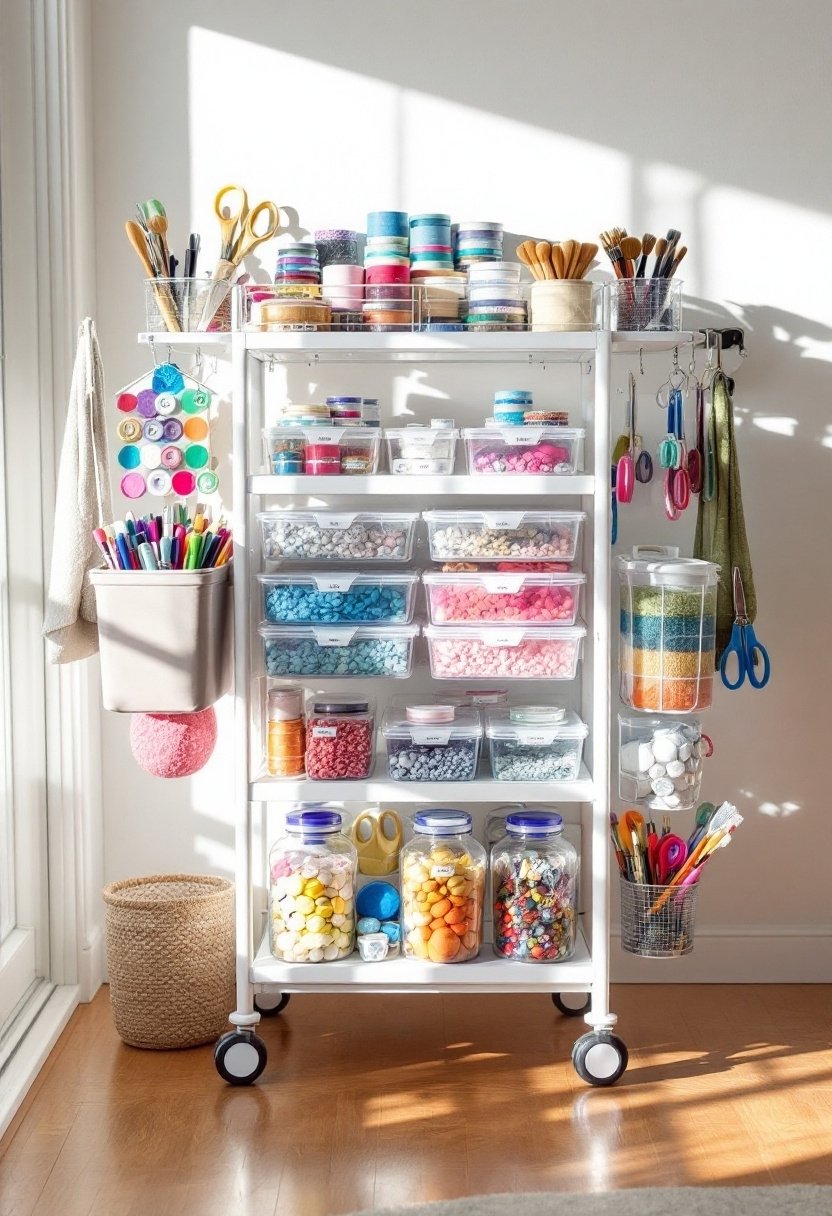
When you need to move your supplies around easily, creating a rolling cart can be a game-changer.
Use simple rolling cart ideas like adding shelves or bins to fit your craft materials.
This mobility solution lets you take your tools wherever you want, making your crafting space flexible and organized.
It’s perfect for saving time and keeping everything within reach.
Store Paper Vertically in Magazine Holders

Moving your craft supplies around on a rolling cart keeps things handy, but paper can take up a lot of space if it’s just stacked flat.
Store paper vertically in magazine holders to save room and keep sheets wrinkle-free.
This simple paper organization hack lets you easily find what you need and keeps your craft closet neat and efficient.
Use Tension Rods to Hang Spray Paint
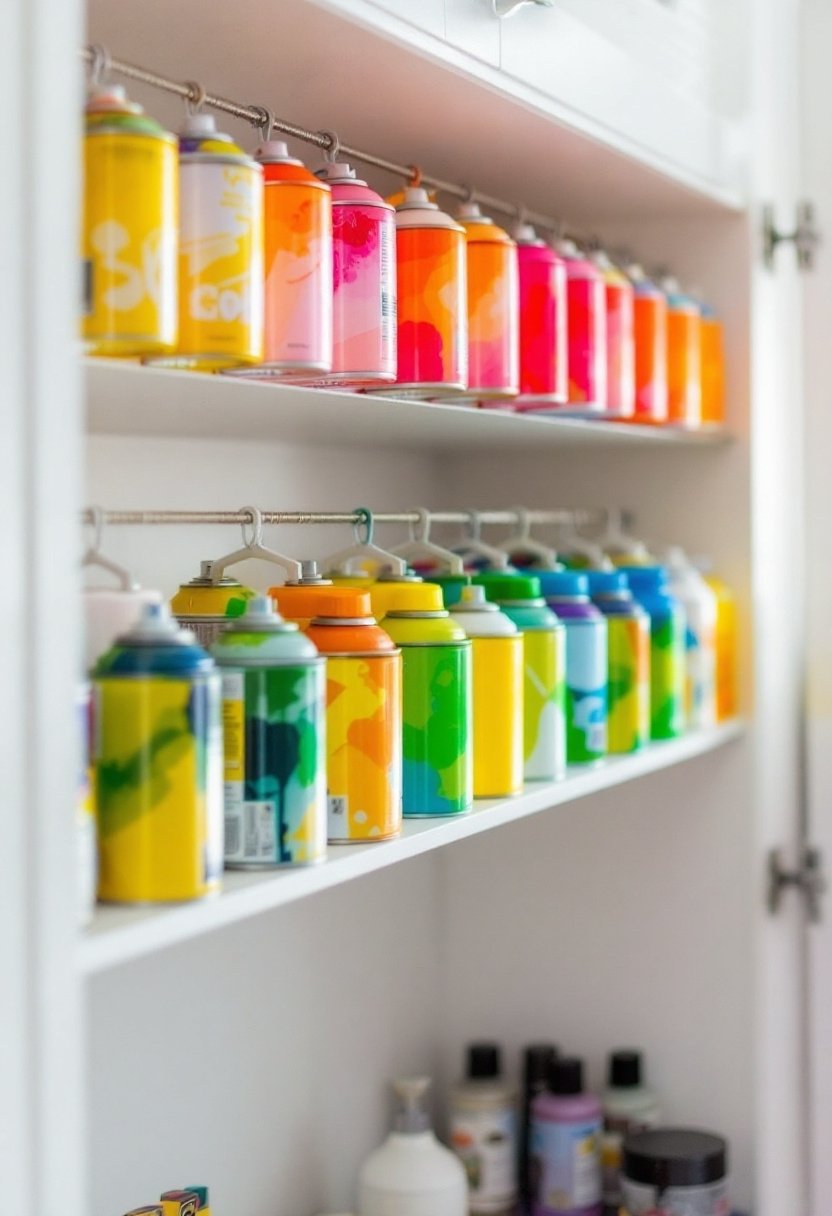
A couple of tension rods can turn an empty space in your craft closet into a handy spray paint rack.
You’ll love the tension rod benefits: easy installation without tools and adjustable height.
Hang spray paint cans by their caps for quick access and better spray paint organization.
This simple hack frees up shelf space and keeps your closet neat and tidy.
Mount Shelves to Maximize Vertical Space
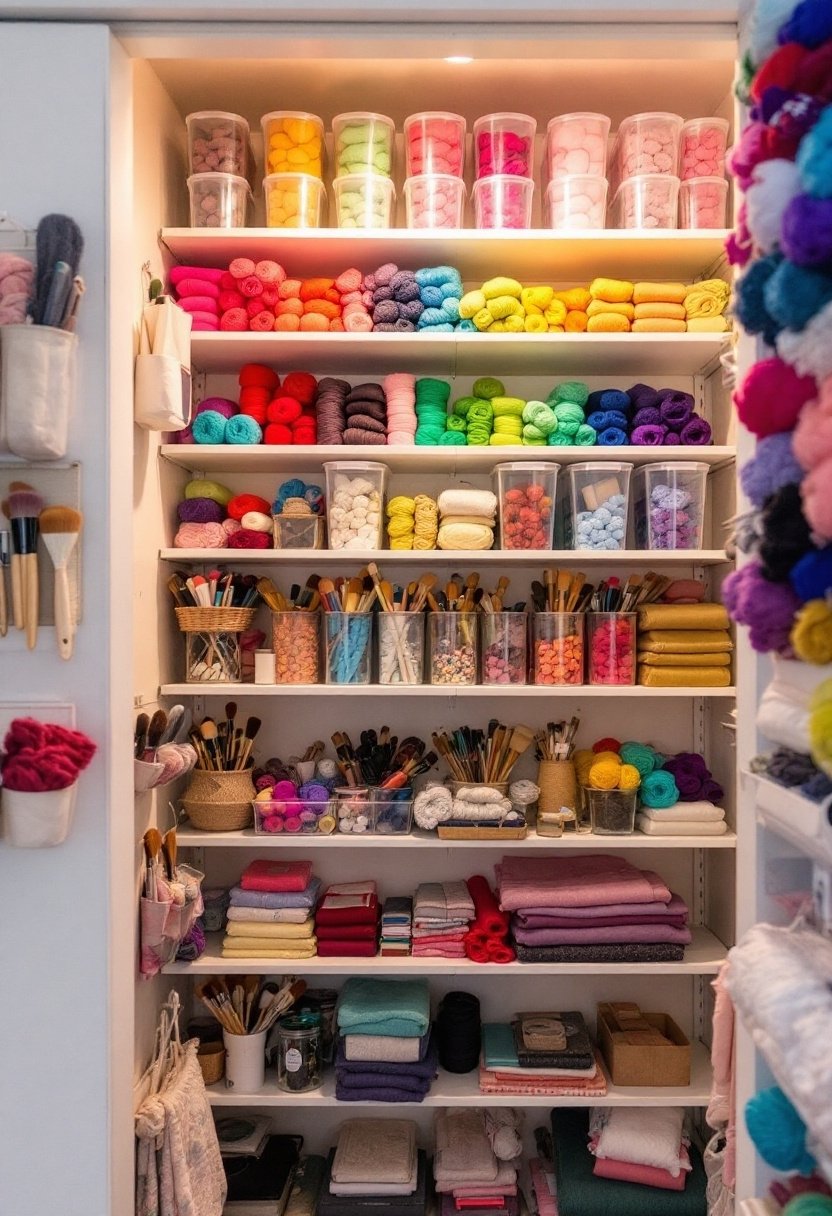
Adding shelves is one of the easiest ways to make the most of your craft closet’s vertical space.
Use sturdy shelf brackets to support your shelves securely. Focus on vertical alignment when installing them to keep everything neat and accessible.
Use a Lazy Susan for Small Tools
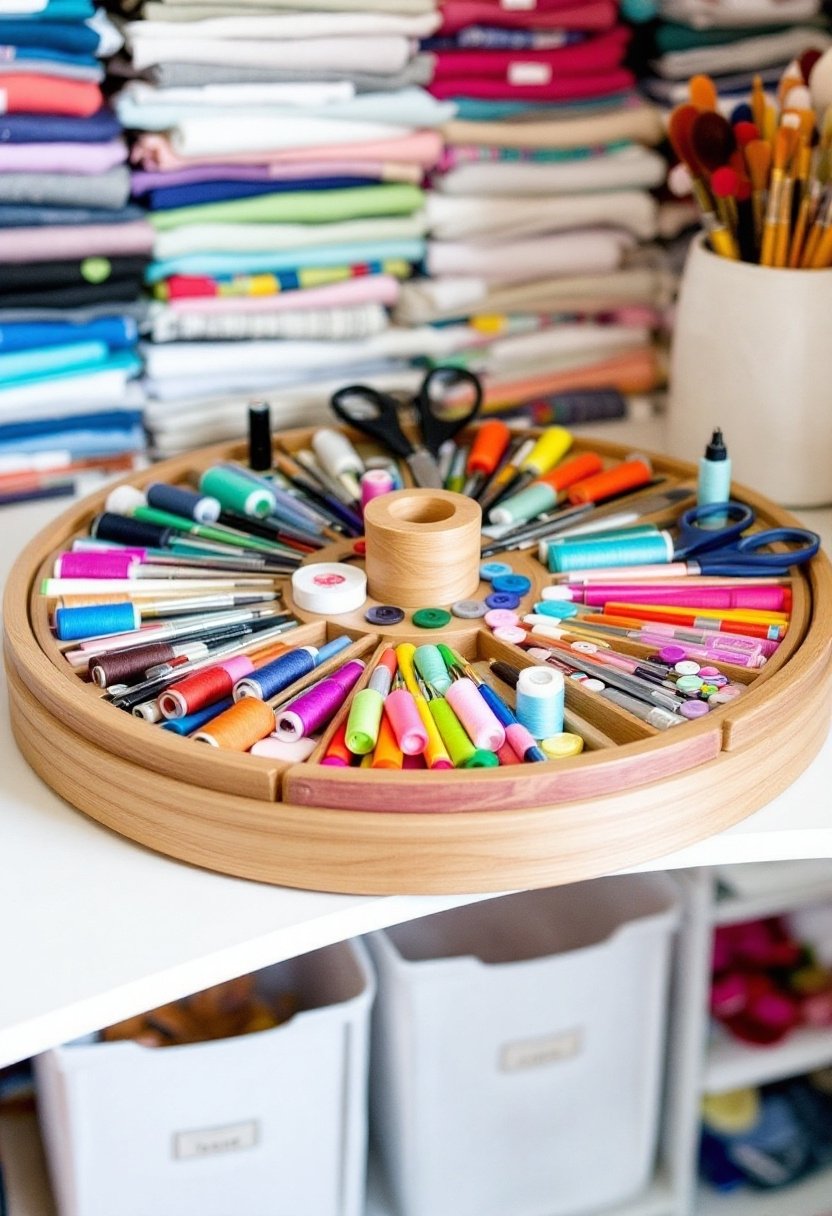
When you want quick access to small tools like scissors, glue sticks, or markers, a lazy Susan can be a game changer.
Its rotating storage lets you easily reach everything without digging through piles. This boosts tool accessibility and keeps your craft closet neat.
Just place your frequently used items on it, spin, and grab what you need instantly.
Store Washi Tapes on a Rod or Rack
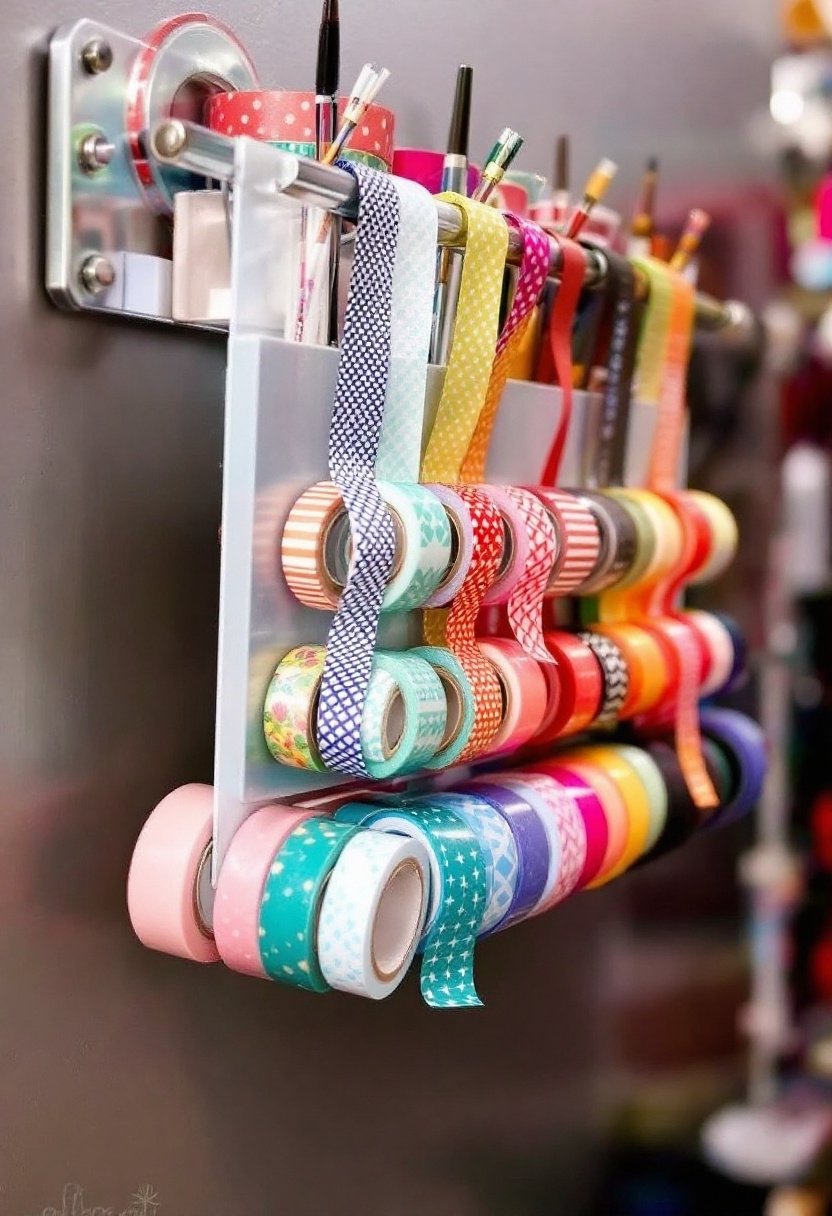
Keeping your small tools easy to reach is important, but you can also make your washi tape collection just as accessible and organized.
Store washi tape on a rod or rack to create a creative display that saves space and looks great. This setup lets you quickly find the pattern you want and keeps your craft closet neat and stylish.
Hang a Chalkboard for Notes and Ideas
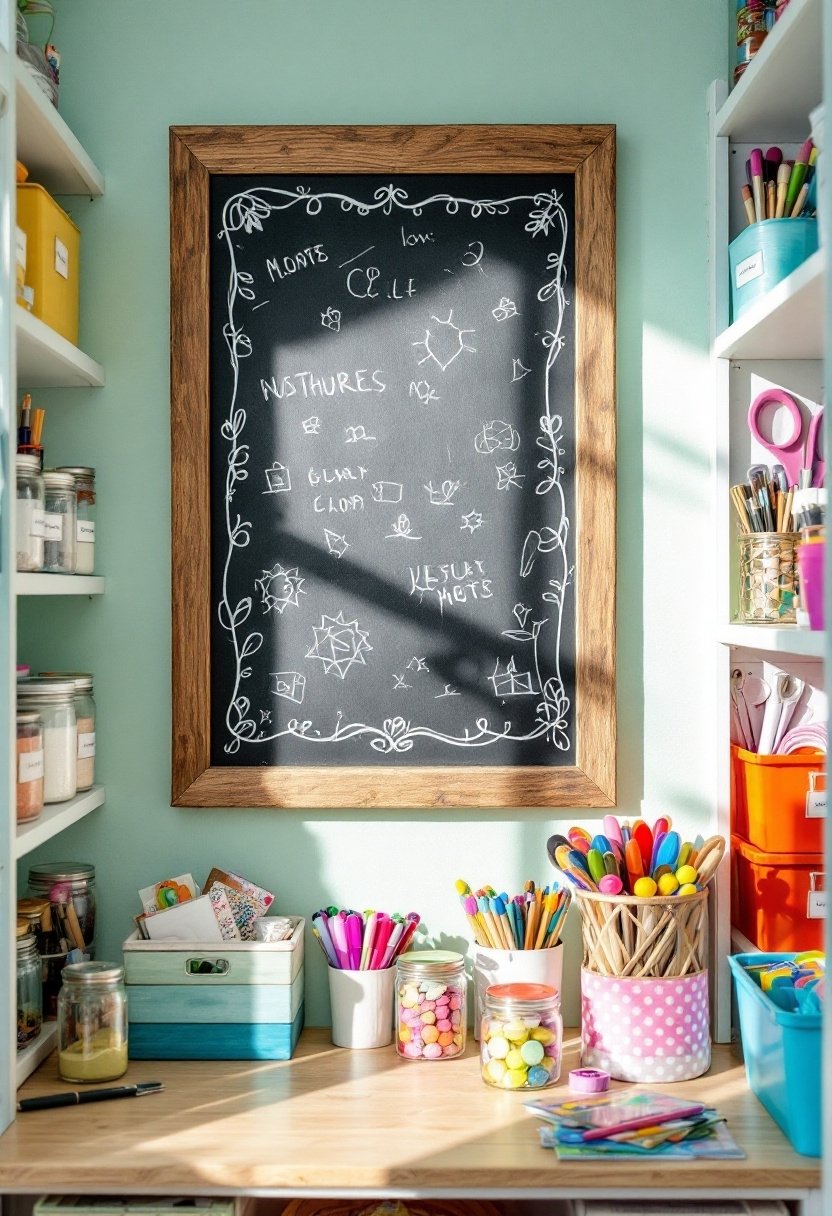
Since your craft closet is a busy space filled with ideas and projects, hanging a chalkboard can help you stay organized and inspired.
Use it for chalkboard inspiration by jotting down notes, reminders, or sketches. This simple tool encourages creative brainstorming, making it easy to capture sudden ideas and keep your projects on track without cluttering your workspace.
Use Clear Shoe Boxes for Fabric Scraps
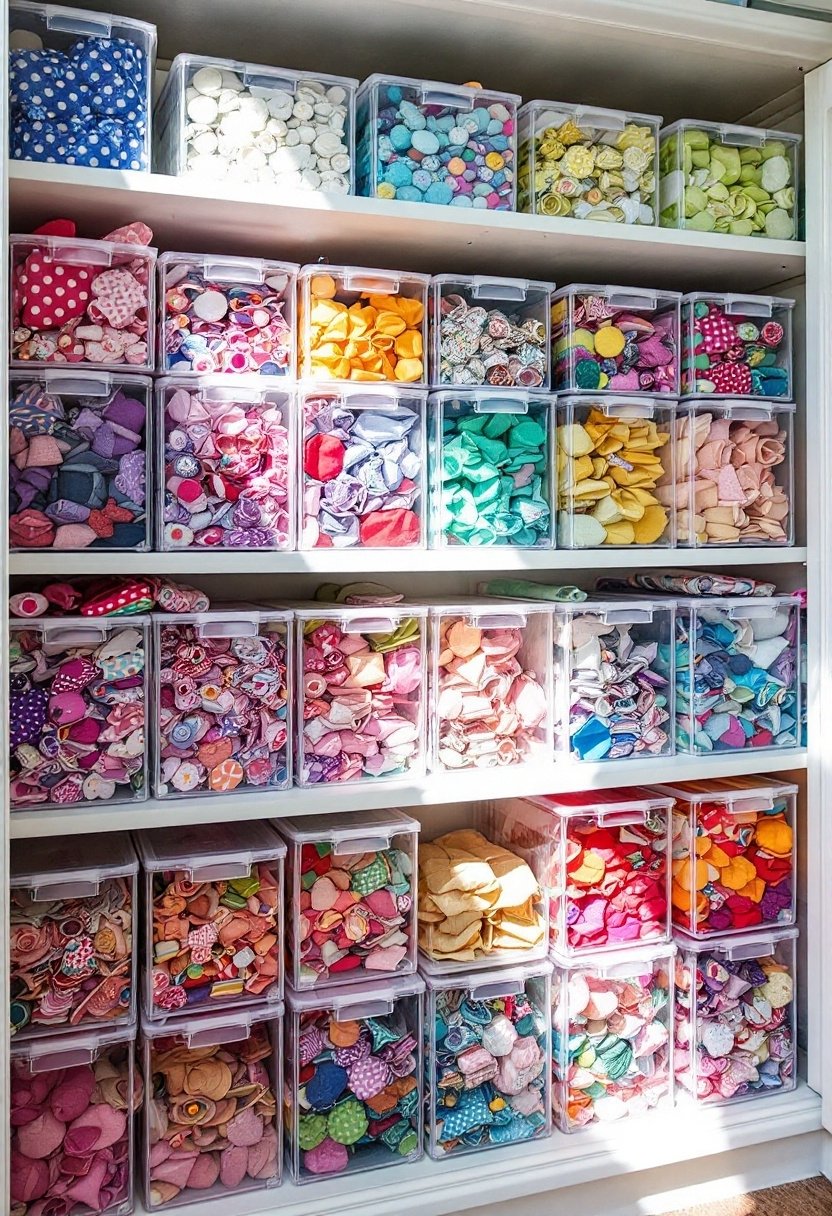
Although fabric scraps can quickly take over your craft closet, using clear shoe boxes helps you keep them neat and visible.
You can sort scraps by color, size, or fabric type, making fabric organization simple. This scrap management trick saves time and reduces clutter, so you’ll always find the pieces you need without digging through piles.
It’s an easy, effective solution.
Label Craft Kits With Photos
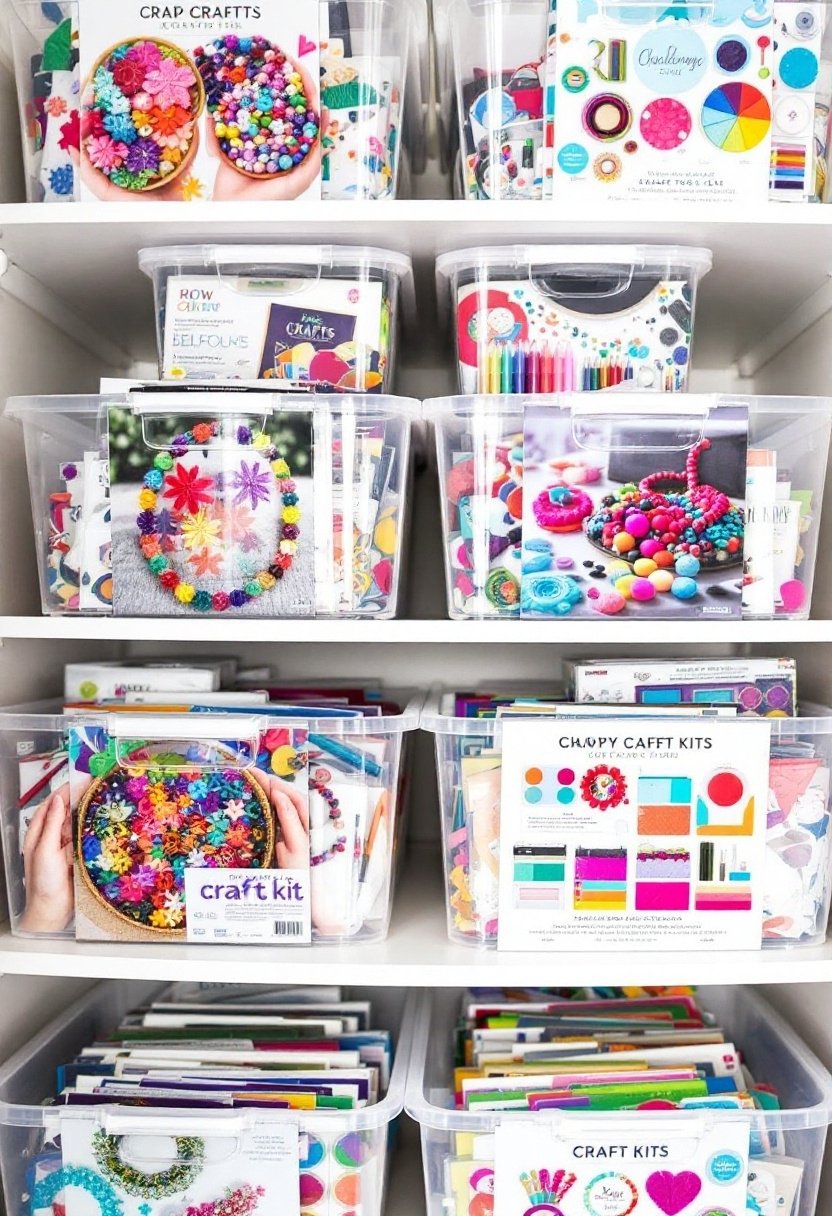
When you label craft kits with photos, you’ll quickly spot what’s inside without opening every box.
Use clear photo labels showing the kit’s contents—like yarn, beads, or paint—to save time. This simple trick keeps your craft closet tidy and helps you find supplies fast.
Photo labels on craft kits make organizing easy and stress-free every time you create.
Create a Dedicated Space for Each Craft Type
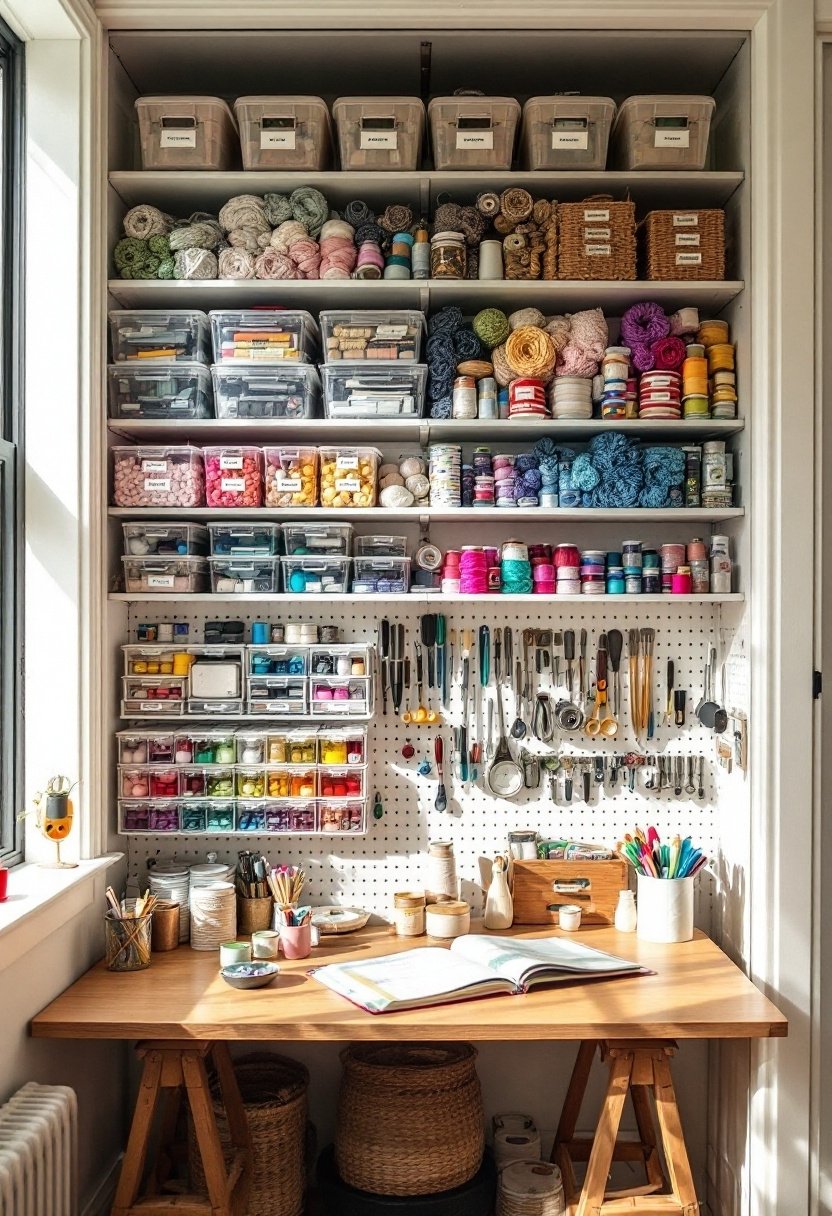
If you want to keep your craft closet neat and easy to navigate, create a dedicated space for each type of craft.
Set up craft type zones with designated supply areas for painting, sewing, or scrapbooking.
This way, you’ll find everything quickly and avoid mixing supplies.
Clear zones make your crafting time smoother and your closet tidier.
Keep a Donation Box for Unused Supplies
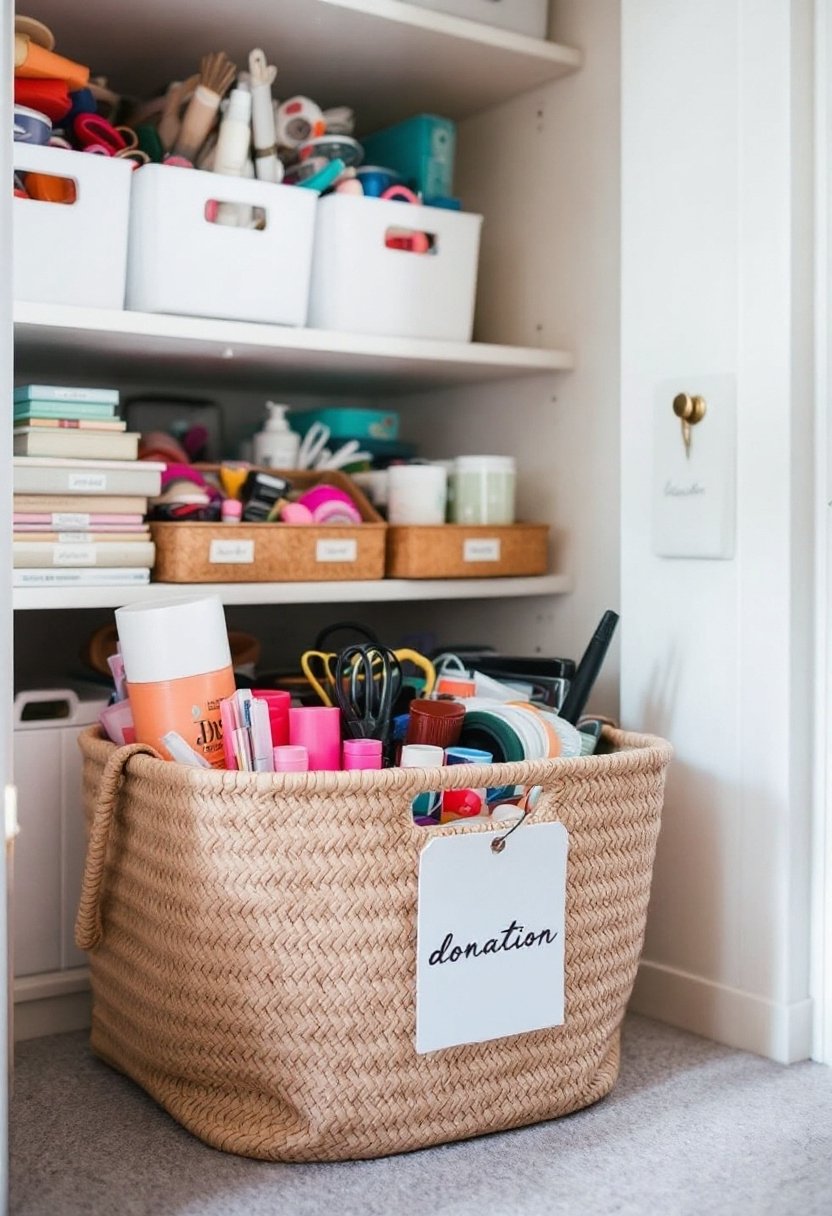
Since craft supplies can quickly pile up and clutter your space, keeping a donation box handy helps you stay organized and clutter-free.
Whenever you find unused items, toss them in the box. Later, you can bring these supplies to donation drives or supply swaps.
This way, you clear space and help others enjoy crafting too.
Final Thoughts
By using these 21 hacks, you’ll make your craft closet neat, easy to use, and inspiring. Clear bins, labeled supplies, and pegboards help you find what you need fast. Magnetic strips and shoe organizers keep small items in order, while dedicated spaces stop clutter from building up. Don’t forget a donation box to clear out what you don’t use. With these simple steps, your craft space will stay organized and ready for your next project.
- 25 DIY Dog Bed Ideas - June 7, 2025
- 20 DIY Wall Art Ideas That Instantly Transform Any Room - June 7, 2025
- 20 DIY Phone Case Ideas - June 7, 2025


