How to Build a DIY Dollhouse: Step-by-Step Guide for Beginners
I’ve always loved the idea of making something from scratch, especially when it comes to creative projects.
That’s why I decided to learn how to build a DIY dollhouse, and honestly, it turned out to be such a fun (and slightly addictive) experience.
Whether you’re building a dollhouse for your kids, as a gift, or just because you love miniatures like I do, there’s something really special about designing every little detail yourself.
In this guide, I’ll walk you through exactly how I built my DIY dollhouse, from gathering materials to adding those tiny finishing touches that make it feel like a real home.
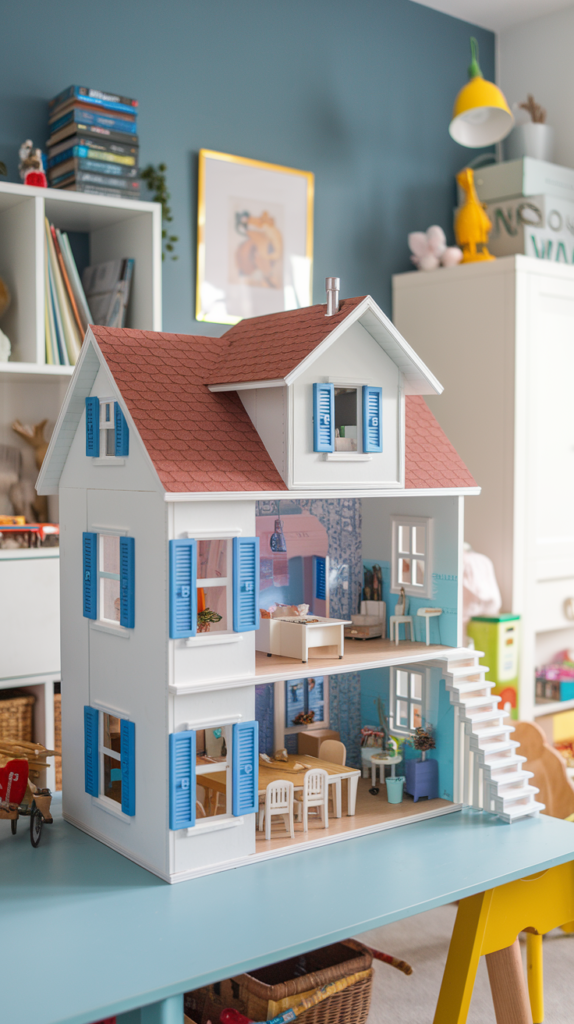
Why Build Your Own Dollhouse?
There’s a bunch of reasons why building your own custom dollhouse beats buying one off Amazon or at a craft store.
- You get full creative control over the design, size, and style.
- It’s way cheaper than those fancy, pre-made dollhouses.
- You can upcycle materials you already have lying around — saving money and the planet.
- Plus, it’s a fun bonding project if you’re building it with your kids.
Tools and Materials You’ll Need
Before we dive into cutting wood or cardboard, gather up your materials. No one wants to stop halfway to hunt for glue or a ruler.
Essential Tools
- Craft knife or precision saw
- Measuring tape
- Pencil and eraser
- Hot glue gun (wood glue works too, but hot glue’s faster)
- Sandpaper (for smoothing edges)
- Clamps (super handy if you’re working with wood)
Materials You Can Use
- Plywood or MDF (for a sturdy dollhouse)
- Foam board (lightweight and beginner-friendly)
- Corrugated cardboard (cheap and works surprisingly well)
Decorating Supplies
- Acrylic paint
- Scrapbook paper (makes cute wallpaper)
- Miniature furniture (or DIY your own later)
- Beads, fabric scraps, washi tape — go wild!
Step 1: Choose a Design and Scale
First thing’s first — decide on the size and theme. Is this gonna be a Barbie house (1:6 scale) or a Sylvanian Families type (1:12 scale)? The scale changes everything, from room sizes to furniture.
- 1:6 scale fits Barbie dolls and fashion dolls.
- 1:12 scale works for most traditional dollhouses.
- 1:24 is for super tiny dollhouses, great if you want a challenge.
Pro Tip
Sketch your layout on paper first — a rough blueprint helps a ton later.
Step 2: Cut and Assemble the Walls and Floors
Now, grab your material of choice and start measuring and cutting. Use that pencil to mark your pieces: walls, floors, roof, back panel.
Basic Layout
- Front wall — optional if you want an open-front dollhouse.
- Two side walls — full height.
- Back wall — keeps everything sturdy.
- Floors — cut for however many stories you want.
When cutting, double-check measurements twice. Nothing ruins a dollhouse faster than mismatched pieces.
Assembly Time
- Use your glue gun or wood glue to attach walls to floors.
- Hold each piece in place for a minute so the glue grips well.
- Sand down any rough edges.
Step 3: Add Windows and Doors
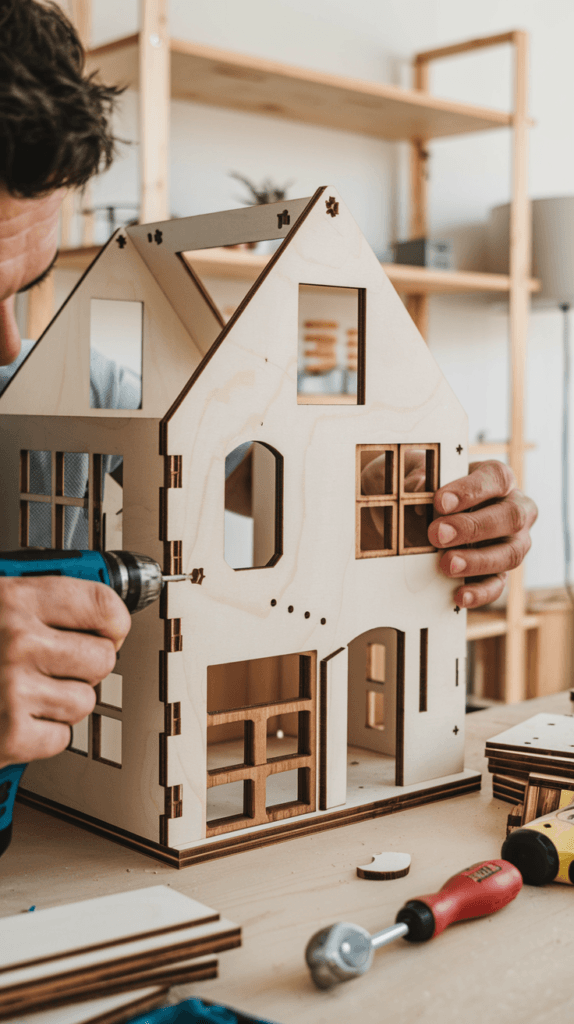
Before you paint or decorate, cut out windows and doors. It’s easier when the walls are still bare.
- Use a craft knife for foam board or cardboard.
- For wood, a small hand saw works better.
- Don’t worry if they’re not perfect — trim or frame the edges later to cover mistakes.
Step 4: Painting and Wallpapering
Here’s the fun part — decorating the inside! Before you start adding floors or furniture, paint the walls and floors. It’s way easier than trying to paint around tiny beds later.
Painting Tips
- Use acrylic paint (dries fast and sticks well).
- Go for pastels for a classic look, or bold colors for modern vibes.
- Don’t forget to paint the exterior too!
Adding Wallpaper
- Scrapbook paper makes awesome wallpaper.
- Apply with mod podge or diluted white glue.
- Smooth out air bubbles with a credit card or scraper.
Step 5: Install Floors and Stairs
If you’re making a multi-story dollhouse, this is where you add the floors and stairs.
- For floors, just glue them in place.
- For stairs, you can DIY them with balsa wood strips or cardboard.
Want to go fancy? Add a staircase railing from toothpicks or wooden skewers.
Step 6: Build and Arrange Furniture
Sure, you could buy ready-made miniature furniture online, but building your own is half the fun.
Easy DIY Dollhouse Furniture Ideas
- Couch: Use a sponge, wrap in fabric, glue on cardboard arms.
- Bed: Cut a rectangle of foam board, cover in fabric for a mattress.
- Tables: Popsicle sticks make great tabletops.
Step 7: Add Roof and Exterior Details
For the roof, you got options:
- Flat roof (modern style)
- Gable roof (classic dollhouse look)
Cut your roof panels, glue them on, and then add shingles if you want. Shingles can be:
- Cardboard strips
- Felt pieces
- Craft foam cut into rectangles
Exterior Decor
- Paint the outside (weathered wood looks cute).
- Add window boxes with tiny fake flowers.
- Stick on some house numbers (so cute if you name your dollhouse).
Step 8: Add Lights (Optional but Adorable)
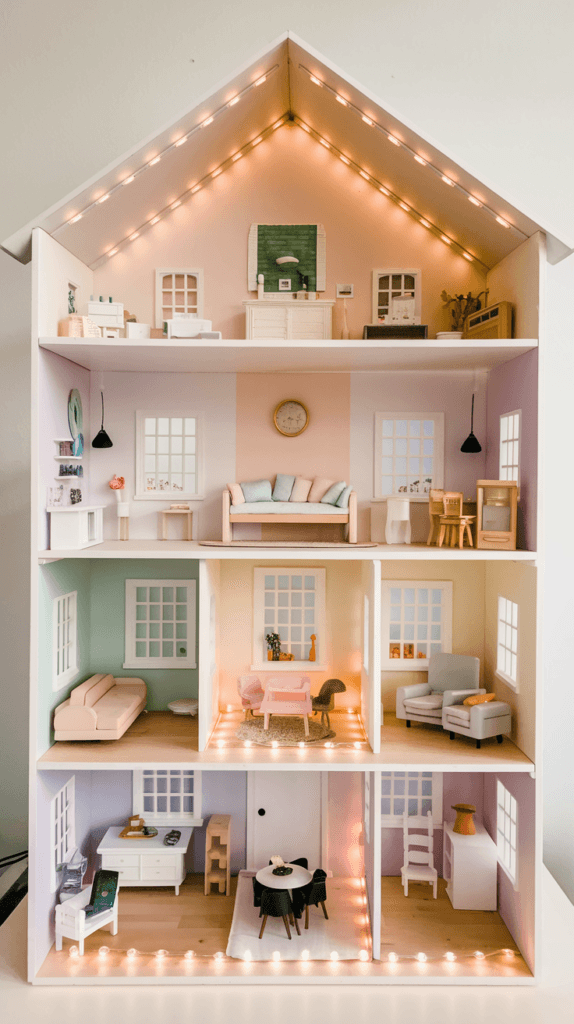
Want your dollhouse to glow at night? Add LED string lights. You can hide the battery pack in the attic.
- Drill tiny holes for lights.
- Use fairy lights for the easiest option.
- If you’re ambitious, you could wire in real miniature lights.
Common Mistakes to Avoid
Even experienced crafters mess up sometimes. Here’s a quick list so you (hopefully) don’t:
- Skipping the blueprint step — you’ll regret it.
- Rushing the glue — always let it dry fully.
- Forgetting about scale — Barbie’s gonna look ridiculous in a 1:12 house.
Maintaining Your DIY Dollhouse
Once it’s done, you’ll want to keep it looking sharp.
- Dust regularly (tiny furniture gets dusty fast).
- If anything pops off, hot glue fixes almost everything.
- Store out of direct sunlight to prevent fading.
Why DIY Dollhouses Are Totally Worth It
Even though it takes a bit of time, making your own dollhouse gives you something no store-bought toy can — a personal touch.
Every crooked window and hand-painted floorboard tells a story. And honestly? Those imperfections are what makes it charming.
Final Thoughts
Building my own dollhouse from scratch was such a rewarding experience, and I hope this guide helps you feel inspired to start your own.
Whether you go all out with intricate designs or keep it simple, the best part about creating a DIY dollhouse is making it your own.
It’s a chance to get creative, try new techniques, and maybe even discover a new hobby along the way.
- 25 DIY Dog Bed Ideas - June 7, 2025
- 20 DIY Wall Art Ideas That Instantly Transform Any Room - June 7, 2025
- 20 DIY Phone Case Ideas - June 7, 2025


