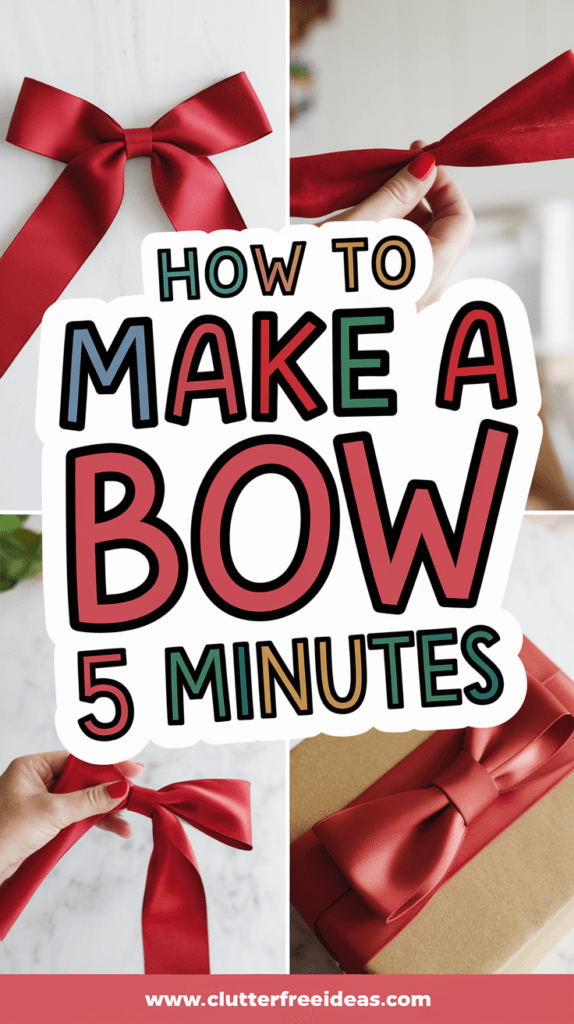
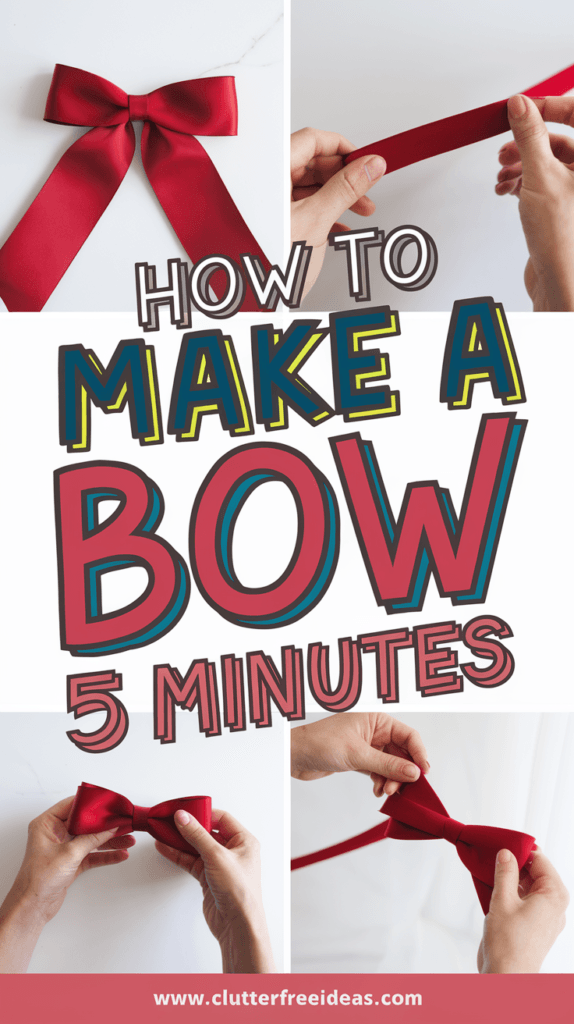
How to Make a Bow in 5 Minutes: Quick & Easy DIY Guide
Learning how to make a bow doesn’t have to be complicated or time-consuming.
In just 5 minutes, you can create a gorgeous handmade DIY bow perfect for wreaths, centerpieces, door signs, or gifts.
In this simple tutorial, I will walk you through the process step-by-step, providing you with all the tools and techniques needed to make stunning bows quickly.
You won’t believe how easy it is to create a beautiful bow that will enhance your holiday decor and impress your friends and family.
What You’ll Need to Make a Quick Bow
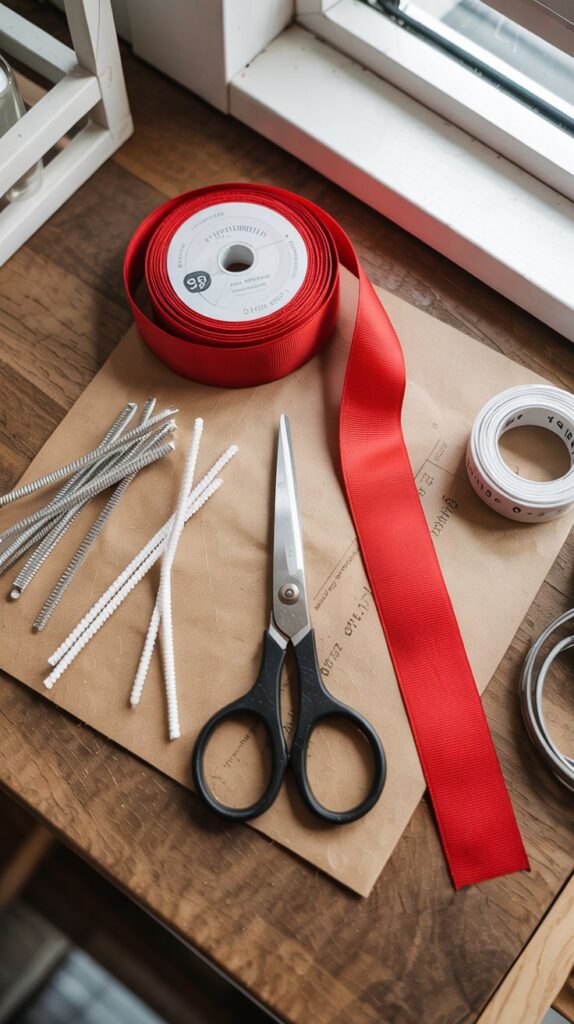
Before starting your 5-minute bow project, gather these essential supplies:
- Wired ribbon (2.5 inches wide is ideal)
- Sharp scissors
- Pipe cleaner or floral wire
- Ruler or measuring tape
- Flat surface for working
The key to making a professional-looking bow is using the right materials. Wired ribbon makes the process much easier as it holds its shape well and allows you to adjust and fluff your bow after it’s made.
Step-by-Step Guide to Make a Perfect Bow
Step 1: Prepare Your Ribbon
- Unroll about 3 yards of your chosen wired ribbon
- Keep the ribbon attached to the spool until the bow is complete
- Smooth out any wrinkles or creases
Pro tip: Using ribbon with wire edges will make your bow more structured and easier to shape.
Step 2: Create the Bow Loops
- Form a small loop at the end of your ribbon (about 2 inches in diameter)
- Pinch the center of this loop between your thumb and forefinger
- Create a second loop of the same size on the opposite side
- Continue making pairs of loops, alternating sides
- Make each pair slightly larger than the previous pair
The size of your loops will determine the fullness of your DIY bow. For a fuller bow, make more loops or increase their size slightly.
Step 3: Secure the Center
- Once you have 4-5 pairs of loops, hold the bow firmly at the center
- Cut the ribbon from the spool, leaving a 6-inch tail
- Wrap a pipe cleaner or floral wire tightly around the center
- Twist the wire several times to secure all loops in place
This is the most critical step for a secure bow. Make sure your wire is tight enough to hold all layers together but not so tight that it damages the ribbon.
Step 4: Shape and Fluff Your Bow
- Separate and spread out each loop
- Pull gently on the loops to adjust their size and position
- Twist the loops slightly to create a fuller appearance
- Trim the ends of the ribbon at an angle for a finished look
Fluffing your bow properly is what transforms it from flat ribbon to a professional-looking decoration. Take your time with this step, even though it only takes a minute or two.
Step 5: Add Final Touches
- Create a center knot with a small piece of contrasting ribbon (optional)
- Trim the tails to your desired length
- Cut the ends of the tails at an angle or in a “V” shape
These finishing touches will make your handmade bow look polished and professional.
Different Types of Bows You Can Make in 5 Minutes
| Bow Type | Best Use | Ribbon Width | Number of Loops |
|---|---|---|---|
| Classic Wreath Bow | Door wreaths, wall decor | 2.5-3 inches | 8-10 loops |
| Gift Topper Bow | Presents, packages | 1-2 inches | 6-8 loops |
| Centerpiece Bow | Table arrangements | 1.5-2 inches | 6-8 loops |
| Multi-Ribbon Bow | Special occasions | Mix of widths | 10-12 loops |
| Mini Accent Bow | Small decorations | 0.5-1 inch | 4-6 loops |
Tips for Choosing the Right Ribbon
The type of ribbon you select will significantly impact how your 5-minute bow turns out. Here are some recommendations:
Best Ribbons for Seasonal Bows
- Christmas: Red velvet, gold metallic, or green plaid wired ribbon
- Spring: Pastel organza or satin ribbons with floral patterns
- Fall: Burlap ribbon or ribbons in warm autumn colors
- Wedding/Formal: White or ivory satin ribbon with wire edges
Ribbon Textures and Their Effects
- Grosgrain ribbon: Creates structured, neat bows
- Velvet ribbon: Makes luxurious, rich-looking bows
- Burlap ribbon: Perfect for rustic or country-style bows
- Organza ribbon: Creates light, airy bows
Common Bow-Making Mistakes to Avoid
Even a 5-minute bow project can go wrong if you make these common mistakes:
- Using ribbon without wire: Non-wired ribbon won’t hold its shape
- Uneven loops: Measure each loop for consistency
- Loose center: Secure the middle tightly with wire
- Not fluffing enough: Take time to shape each loop
- Using dull scissors: Sharp cuts prevent fraying
Creative Ways to Use Your Handmade Bows
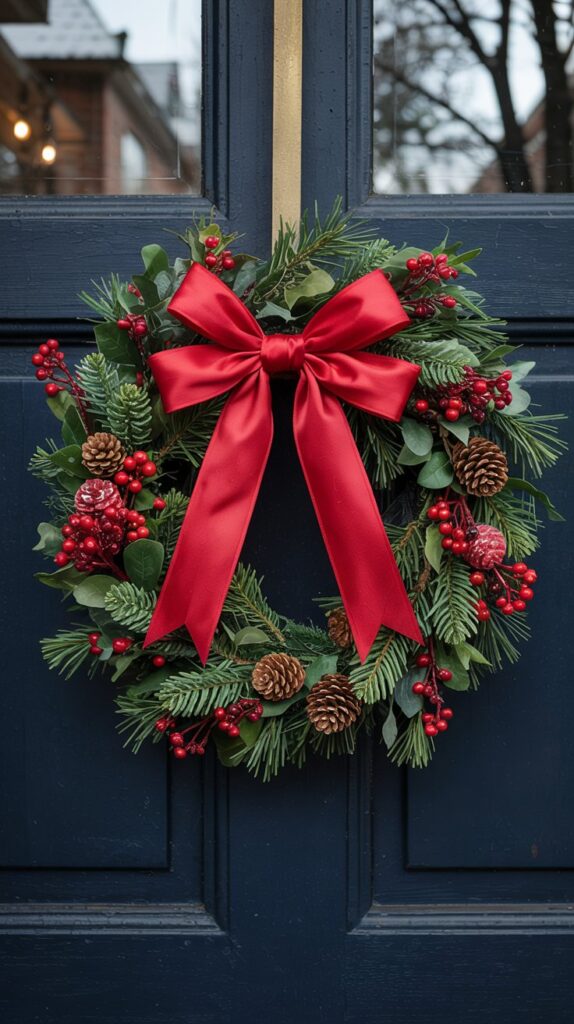
Now that you’ve mastered how to make a bow in 5 minutes, here are some ways to use your creation:
- Attach to a door wreath for seasonal decor
- Top a special gift package
- Decorate a centerpiece for your dining table
- Add to flower arrangements
- Enhance wedding or party decor
- Decorate a mirror or picture frame
- Attach to a chair back for special occasions
- Add to your Christmas tree as an ornament
Bow-Making for Beginners: Troubleshooting
If you’re new to making bows, you might encounter some challenges. Here’s how to solve them:
Problem #1: Bow Looks Flat
Solution: Use wired ribbon and spend more time fluffing each loop individually.
Problem #2: Loops Keep Slipping
Solution: Secure the center more tightly with wire or add a dot of hot glue.
Problem #3: Ribbon Frays
Solution: Seal the ends with a small flame or clear nail polish (be careful with synthetic ribbons).
Problem #4: Bow Doesn’t Hold Shape
Solution: Make sure you’re using quality wired ribbon and twist the wire edges slightly.
FAQs About Making Bows Quickly
Can I make bows without wired ribbon?
Yes, but they won’t hold their shape as well. For non-wired ribbon, you may need to use a bow-making tool or spend more time securing the center.
How much ribbon do I need for one bow?
For a standard wreath bow, you’ll need about 3 yards of ribbon. Larger bows require more, while smaller gift bows need less.
Can I wash my handmade bows?
Most ribbon bows should be spot-cleaned only. Washing may damage the wire and cause the bow to lose its shape.
How do I attach my bow to a wreath?
Use the excess pipe cleaner or floral wire from securing the center to attach the bow to your wreath.
Can I reuse bows from year to year?
Absolutely! Store them in a box with tissue paper to maintain their shape.
- 15 Easy RV Remodel Ideas on a Budget - April 13, 2025
- 15 Modern Balcony Railing Designs for Sleek Outdoor Spaces - April 12, 2025
- 35 Easiest Camping Meals to Make Ahead & Keep Everyone Full - March 31, 2025


